Saturday, September 14, 2019

Clay pot painting turns into unique potted crochet Pokemon creature plants!

Trying to use up some old yarn scraps and make something for charity, I decided to make some crocheted cute Kawaai cacti. Then I thought of putting them in a clay pot. Plain terra cotta just doesn't cut it. Having a painting day with a friend, I painted a clay pot with bright yellow, and one with green. As I was doing this, she said to me, "this could be Pikachu" So I say, what would I put in the pot? She says, maybe a Poke ball. Hmmm. And the green one could be Bulbasaur! And I could put a bulb in the pot! I convinced my friend to draw/paint the faces for me, and voila! The patterns I used were modified from GundamGirlWing's Blog.


So, why not make the other evolutions of Bulbasaur? Back to the dollar store to get more pots!

Ivysaur


Venosaur


So although I'm not crazy about the results of these next two, they were the start of this project.
Pikachu and Charmander


AND OH where are the cacti that started it all?
These are my charity items.


crochet baby dragon

One of my work friends was saying how much she liked this baby dragon head that is sold with yarn to make a child's hat with. I waited for it to go on sale and made her this cute baby dragon. This pattern was found online, and was modified to fit the size of the head. This really helped me gain confidence to try crocheting more things.


Monday, March 25, 2019

winter crochet and knit projects

With the cold winter we had, my miniatures have been put aside to relax with the tv and a cat on my lap, while making something with yarn. here are a few of the projects I made this winter.
The first item is a knit wave blanket with little crochet fish sewed on. Just by using my scrap yarn, this blanket made a cool ocean scene.


Learning that a friend is having a baby, I felt like making something for the new arrival. I knew the mother wouldn't want traditional pink or purple, so I found some cool yarn that originally was for making hats. It came with cool pom poms that will be used for either hats or key chains.
The stitch used is a crochet  waistcoat stitch so the crocheted blanket looks like it was knitted. This project also gave me the opportunity to learn a shell scallop stitch, to border the blanket.


I also made some slippers this year, and a blanket that I am going to donate.

My grandmother made a small lap blanket which she gave to me, but I want to add to it and make it bigger. Luckily enough, the same type of yarn is still in the stores, and when I feel more confident of my crocheting, I will add around it, having her piece in the centre.

Monday, December 17, 2018

Fawkes the Phoenix in miniature

Tackling the star of the show Fawkes the Phoenix. My first attempt is nice, but not exactly what I'm looking for. The first step is to make a wire armature with copper wire. The feet and legs took me a long time to get right. Then I added more wire to form the body. Looks a little like a lizard or dinosaur!


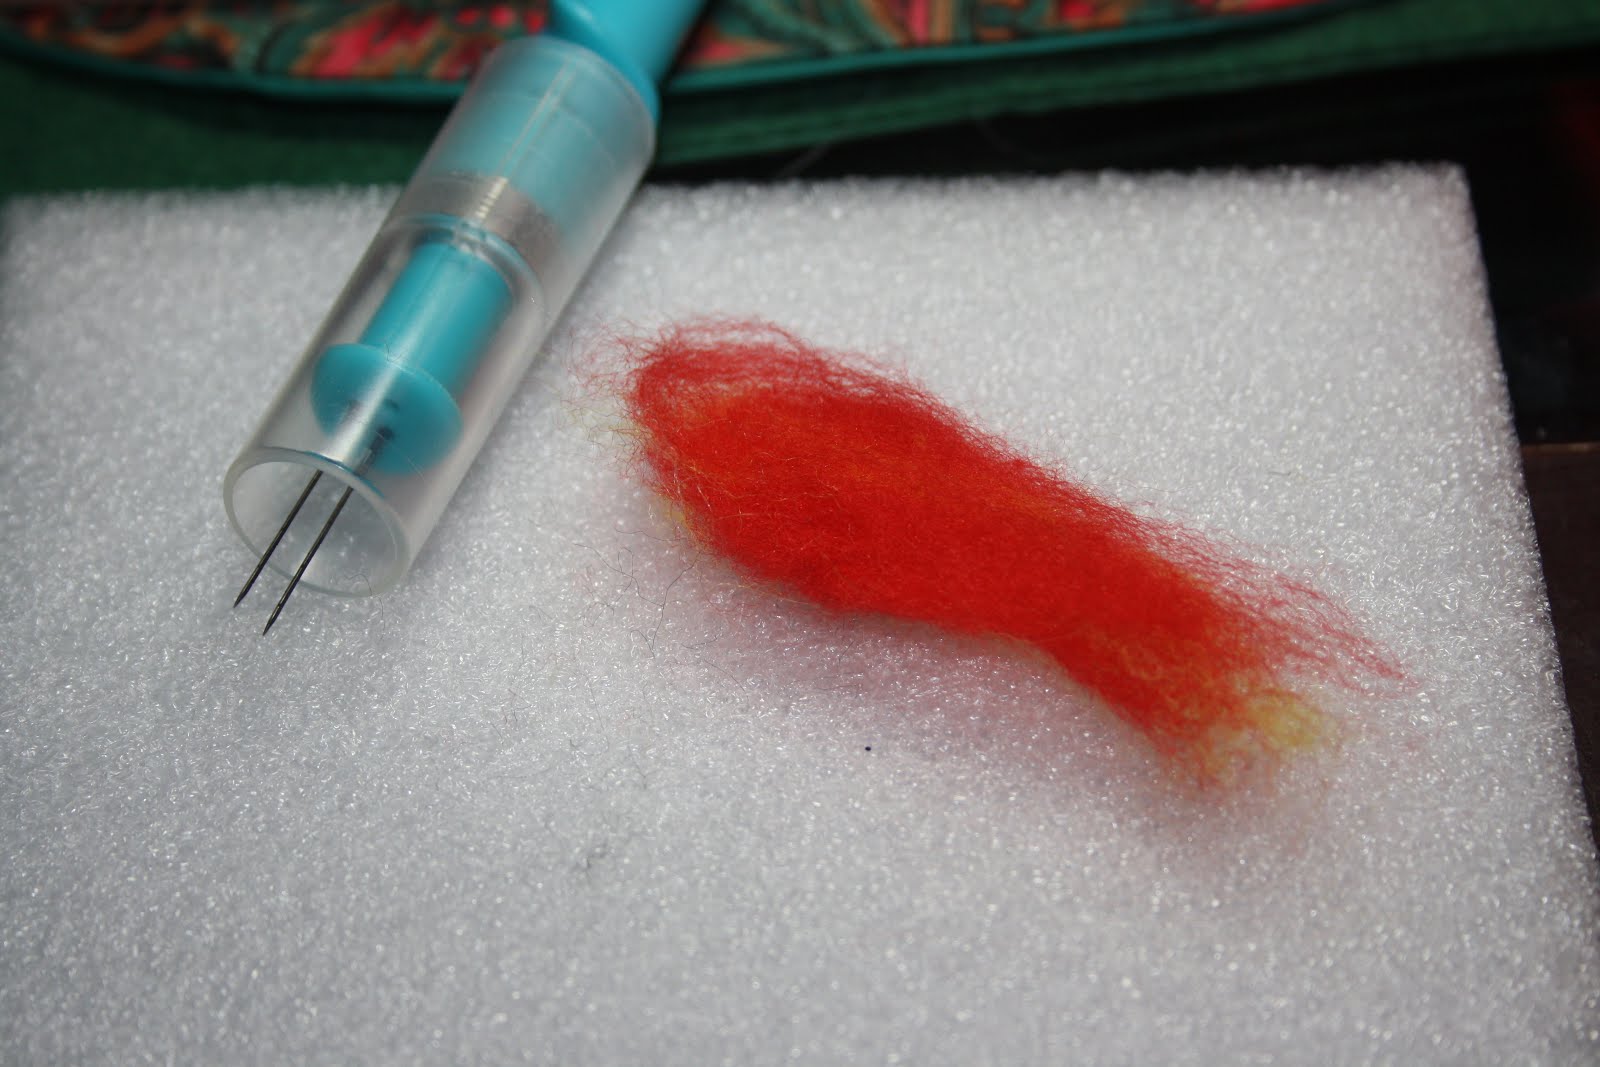
Wool felting seemed like the way to go. Maybe the feathers can be stuck in the felt with a little glue.


the legs and feet are wrapped with some thin wool and a little glue on the wire helps.


Wings were made separately with a felting needle and wool, then attached to the body.


The feathers I had on hand were very fluffy. The ends of the feathers didn't really stick in the felt. Glue and patience helps. A little bit of yellow feather was used as well. The beak is felted and I don't like the look of it.


Not bad for a first attempt. On to the www for some more help. I joined a group on facebook called trash to treasure for miniatures and a lovely lady gave me advice as she made some birds with clay and feathers which I thought looked much better and quite realistic. So here is my 2nd attempt:
Still using copper wire, an armature  is made.


Polymer clay is wrapped around the wire. The colour doesn't really matter, it will be painted and feathers will be glued on it after it is baked and cooled.


the little wing buds on the back just isn't enough. 


View from the back.


Hope you enjoyed and this gives you inspiration! Stay tuned for the completed project photos in the future.
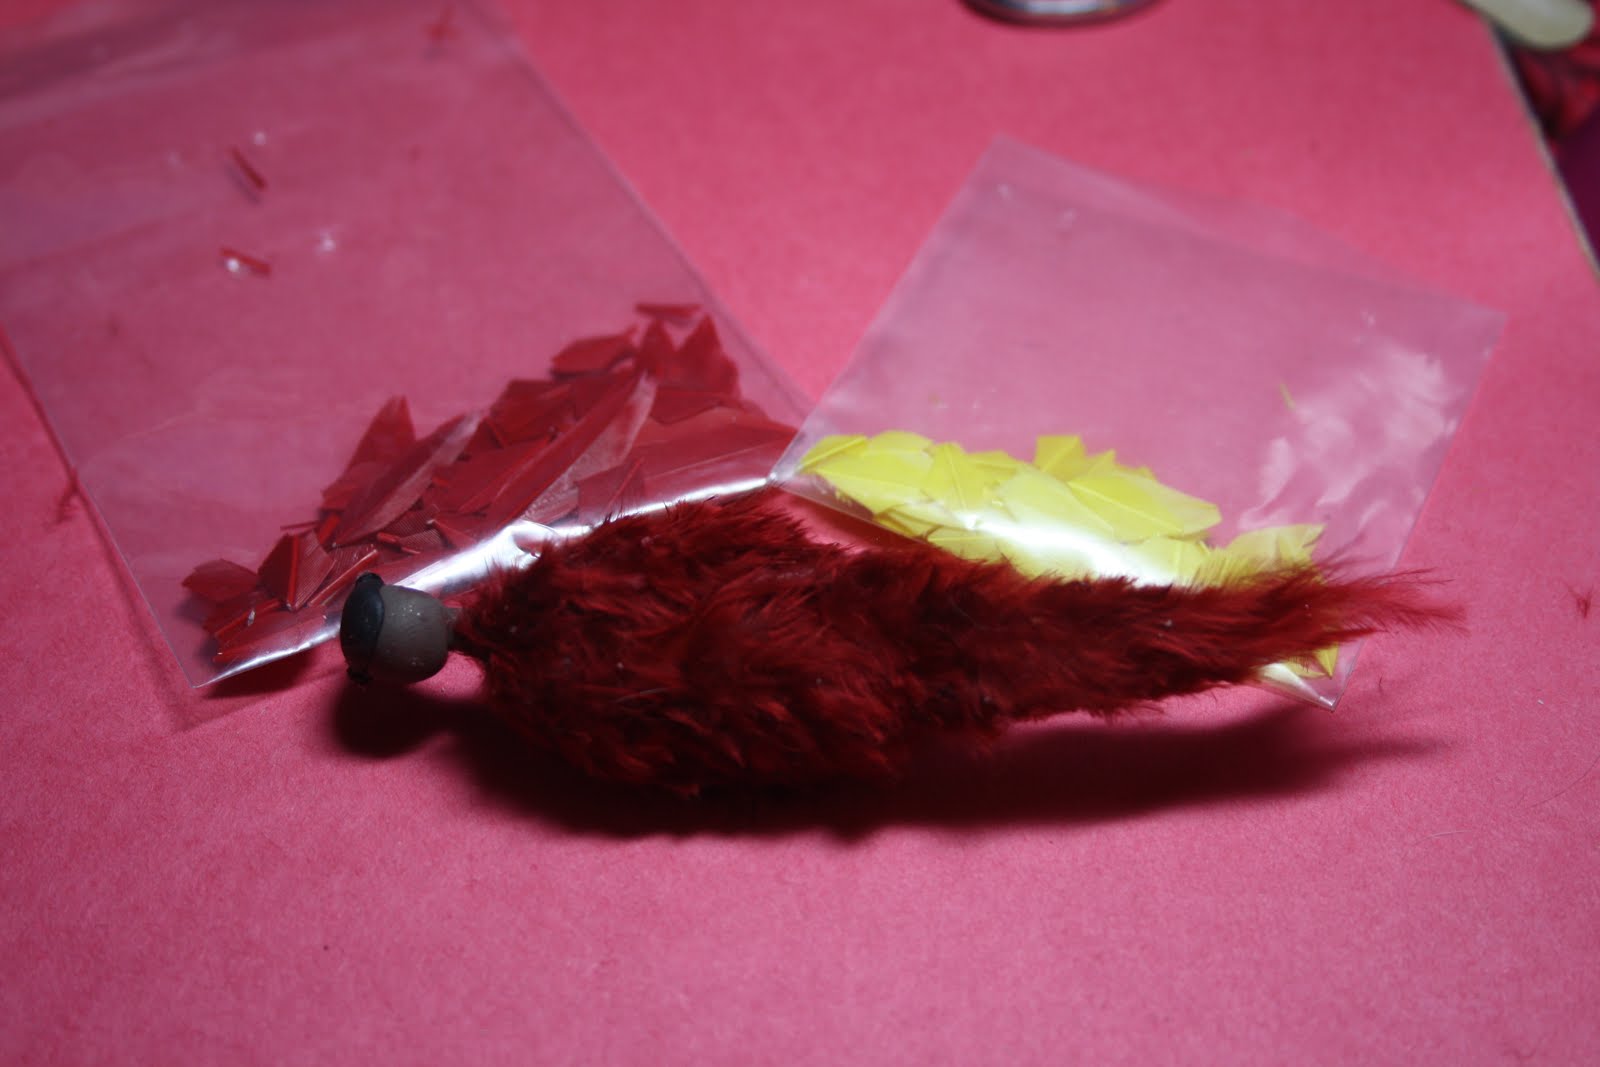
In the interest of making an authentic bird, I decided to first cover my Phoenix in fluffy feathers with MIGHTY GEMIT Embellishing Adhesive. Then cut them close to the body.


Adding tail feathers. They look so pretty and lie just like they grew there naturally.


Then apply regular feathers to the "down" This does waste a lot of the original feather. Thank goodness for the dollar store!


On the ends of the feathers it is a little white, so acrylic paint is used on them. Although a marker could have worked.
Adding the feathers to the head. Was hoping they would droop down but they didn't.


So I hope you enjoyed my 2nd attempt at making a miniature Fawkes the Phoenix.

Of course, it wasn't JUST right, so here is the finished 3rd attempt. For this one, I used only the tips of the feathers. This made it more sleaker and natural. This did take more feathers, though.


On the bird stand he does look a little big, but I think it will work.


Will have to put some weight on the bottom of the stand so it won't fall over!


Have a great day!