Wednesday, August 5, 2020

Miniature footstools from the Gryffindor common room Harry Potter

The first footstool I am making is usually in front of the winged chair by the fireplace. It is a simple footstool and the best to start with. The top is cut to size, and the edges are rounded.


These legs that can be cut down to look pretty close to the original. 


All that is needed is a little bead for the bottom of the leg.


Cereal box card is cut out and I will wrap the fabric around this, and then glue that to the wood top.


Figuring out the thickness of padding that's needed.


This padding is foam from packaging.


Styrofoam glue.


The cushion is not perfect, maybe I will try again later.


The top and legs are painted with acrylic paint.


The second footstool is usually between the fireplace and the couch. It has dimples in the top and I assume I will have to try a couple times to get it right. These short legs are perfect if the end is cut off.


Sorry I didn't take photos, but here is the painted footstool. Pogo sticks are for supports along the bottom.


This is my first attempt on making the footstool. I am not happy with the tufted sewing, and maybe I will try  tiny seed beads to make it more dimpled.


Starting over with the cushion. Trying to make the tufted cushion with an old oven mitt, instead of foam. The old cushion is removed, and a new piece of cardstock will be the base.


Here are the layers: cardstock, oven mitt material, and a paper template for the dimples.


Cutting a piece of material to cover the cushion.


Placing the layers centered on the material


New cushion is all tufted and excess fabric is glued with fabric glue underneath.


Here it is together. It is a bit of an improvement.


Here is a quick video


Monday, August 3, 2020

Miniature Wing chair by the Fireplace in the Gryffindor common room Harry Potter

This wing chair is going to be challenging! But I will do my best. Forgot to take pictures earlier, so when I remembered, I had it half assembled! So far cardboard, foamboard and dowels are the materials. Weldbond is used to glue it together.


Can you see the slight angle to the chair back? If it was totally upright, it would be uncomfortable!


Using tiny pieces of fabric to cover the bits before the final layer. Fabric tape works for me, I hate liquid glue. Chose not to use padding as the chair would be too bulky.


Here is the side panel ready to position in place. It will cover all those loose and frayed edges of the fabric.


The back turned out well.


The white square is the cushioned seat which still has to be covered with fabric.
I don't know why, but I like the seat to be removeable. Who knows when you need to look for a dropped quill or candy?


 Feet are made with polymer clay (bakes hard in the oven). Before baking, straight pins are put in.


Painting wooden beads for the legs of the feet. In order for them to dry, they are slid onto a toothpick, which is stuck on  a styrofoam peanut.


After scouring all the online dollhouse stores I order from and not finding the right legs, I was reduced to peruse my wood stock. When possible, save wood implements, scrap wood, you never know what you may make with it! Here is a wooden spatula that had a good angle on it. By cutting it stratigically, I got 2 chair legs out of it!


My wooden back legs sanded down.


All 4 legs. will have a straight pin inserted/ glued onto the chair.


Legs are painted and put on the chair.


I think they turned out well!


The fringe along the bottom is from Michaels. It is coloured with markers. It was a little too long, so I folded the fringe. I used both glue and tiny pins to adhere it to the chair.


So good! I love it.

Comfy chair from the Gryffindor common room in miniature Harry Potter

This big squashy chair is what I would imagine in the common room even if it wasn't in the movies! First of all, this chair was not made with individual parts apholsterd then glued together. That would probably make it look better, but I worry the glue just on the fabric won't hold the chair together.  Here is a cardstock pattern, and foam board seat and back glued together. As you can see, I made a blue chair to see if the pattern looks right and give me practice before I try to make one with the burgundy fabric.


Really liking this weldbond glue. A piece of dowel is cut for the top of the chair back and glued on.


Two more dowels for the arm rests.


Using an old oven mitt, the batting inside is glued down as padding. The green cardstock pieces look good for the size of the arm panel.


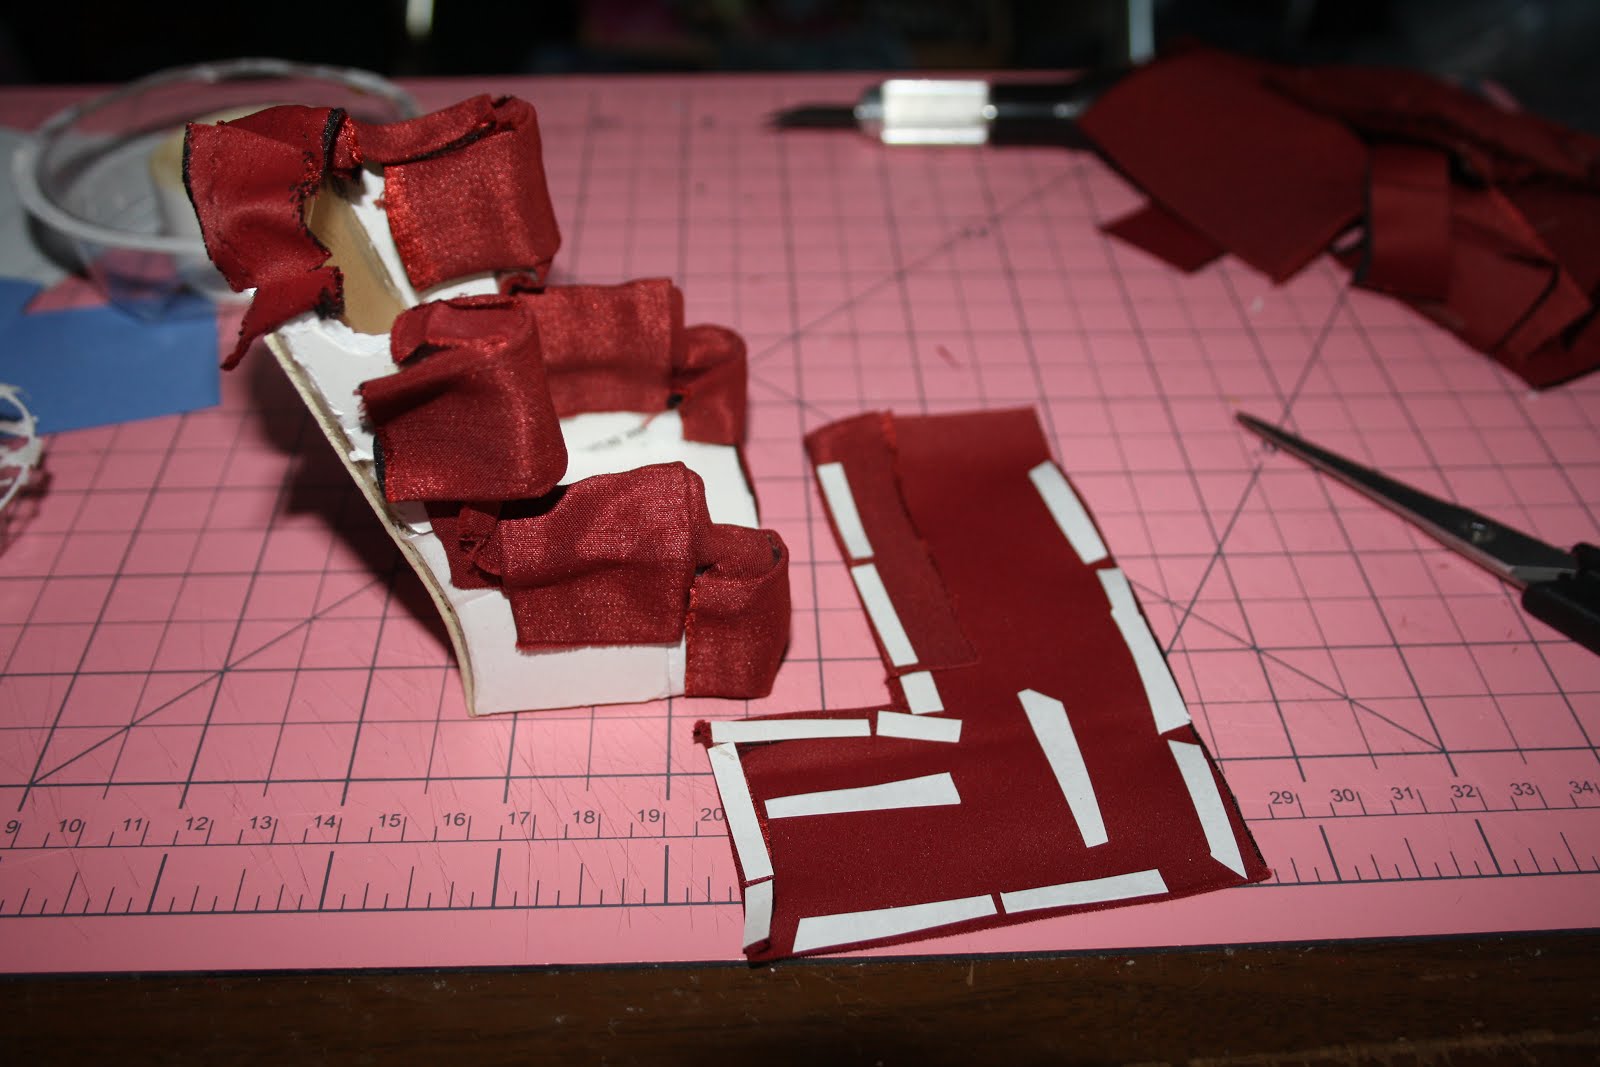
First covering of tiny pieces on the chair.


Padding the seat, trying to make it worn and lumpy.


Final covering of fabric. This fabric, although the perfect colour, was a little thick and hard to work with. When choosing fabric for chairs, I recommend choosing light fabrics. I used fabric tape.


 Starting to come together!


Making legs for the comfy chair. I chose wooden beads and nails for the back. The front has casters and wooden beads. to attach, straight pins and glue will be used.


Using E6000 glue.


Last step is painting the beads.


On to the next chair!