Sunday, August 2, 2020

Harry Potter dollhouse miniature square table project

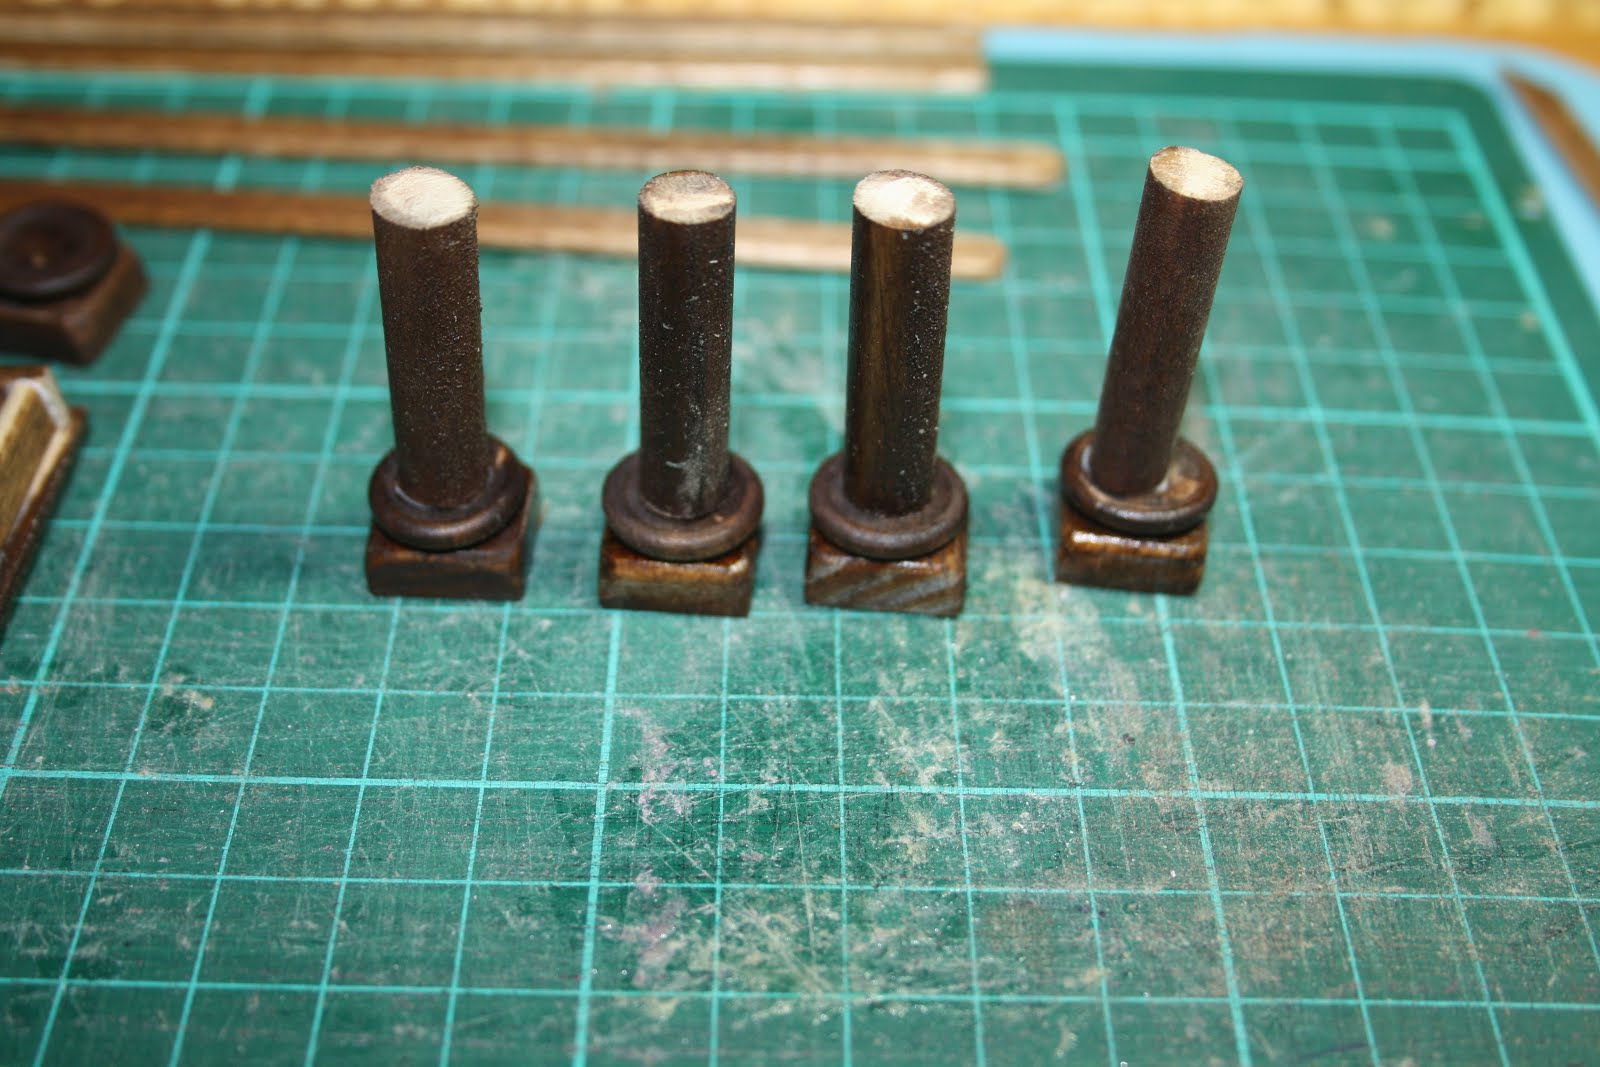
In the Gryffindor common room, there is a large, square table in the back. Here are the pieces I used. This table had round pieces on the posts, and I had to raid my button stash for the right size and shape. Wooden buttons are a great thing to have on hand, and the uses for them are endless. Reference photos are so important as this table would have been less detailed and accurate. I even sketched out the table so I wouldn't forget any layers.


Working out the size so it looks in the right scale.


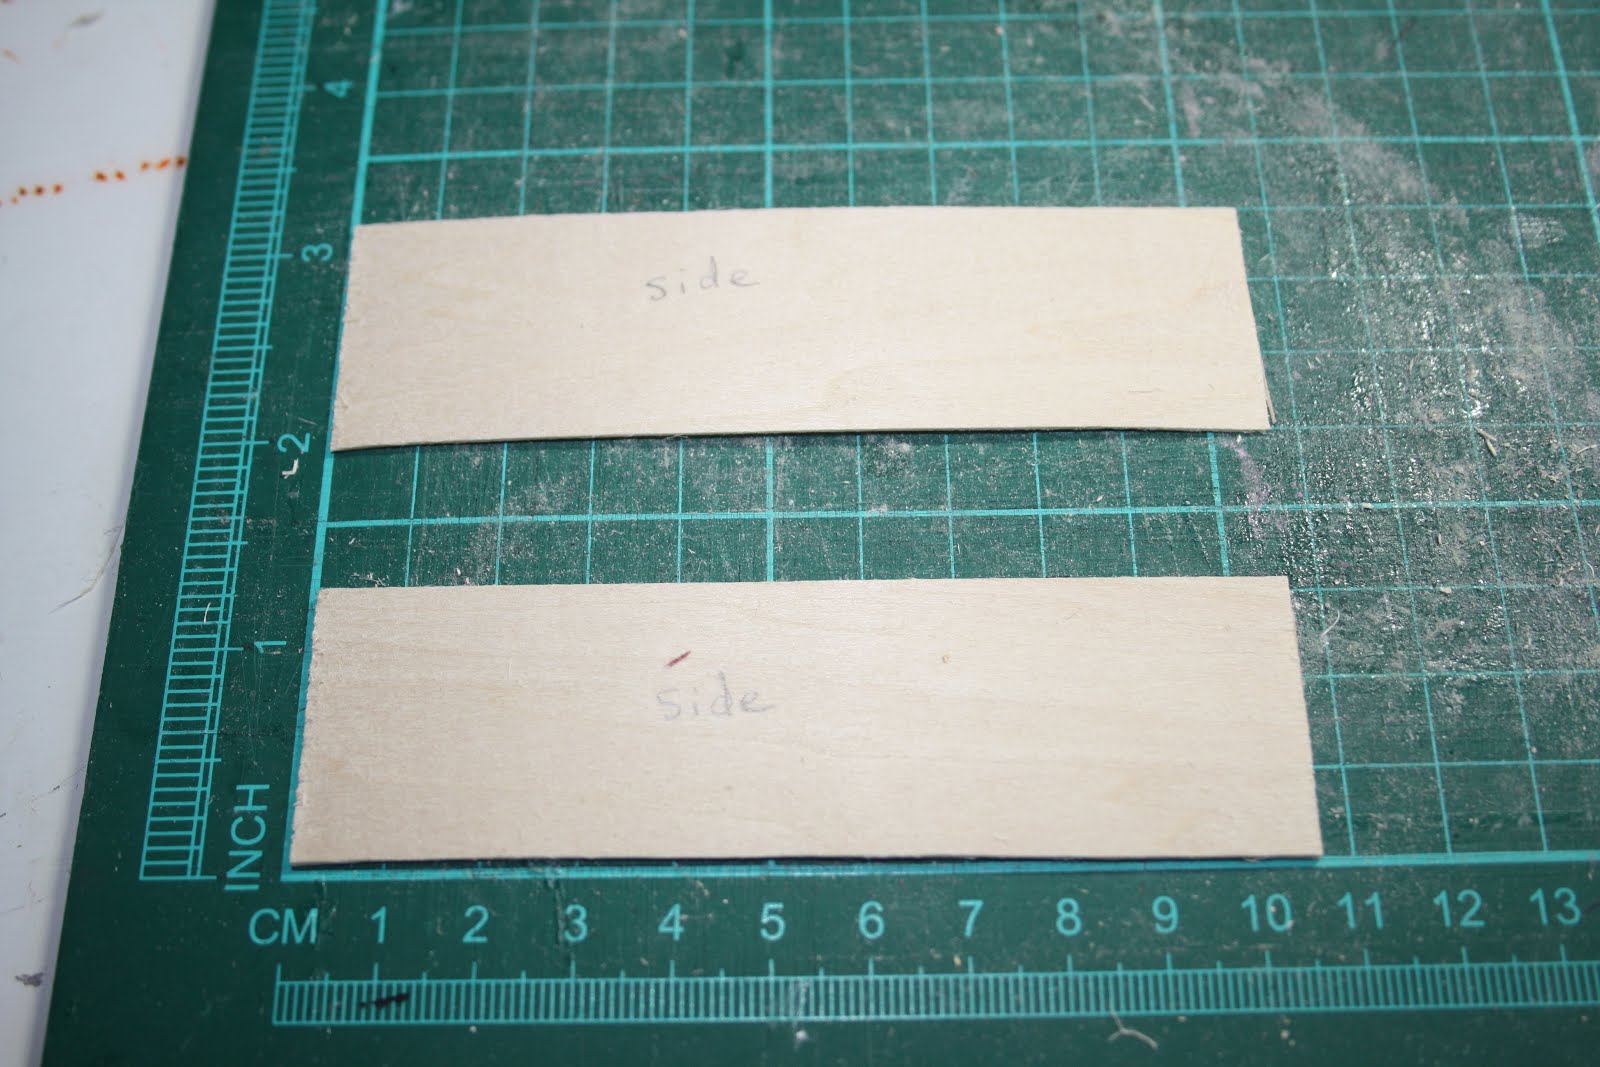
Cutting the table top pieces, one slightly bigger than the other.


Square parts of the posts. After they were cut, they are sanded to have a rounded edge like the original.


Dowel pieces for the posts. Measuring is so important, and I used a chair and a kitchen table to make sure it would be the right height. It's no use to make the table and the chair won't fit under it!


The skirt is a simple pogo stick, which is just thin enough to look right.


Again, I made a fatal mistake, staining the pieces before glueing. Well, it's good I have enough sand paper to make it so it can be glued together!


Glueing the skirt.


Ready for the final step!


Measurements. Sigh. Since I made a mistake, I came up with a solution. adding some scraps of pogo sticks, the post is glued on top of that, and the day is saved!


 Sooooo, I put it in the scene, and it seemed too small, so off I go, making another!


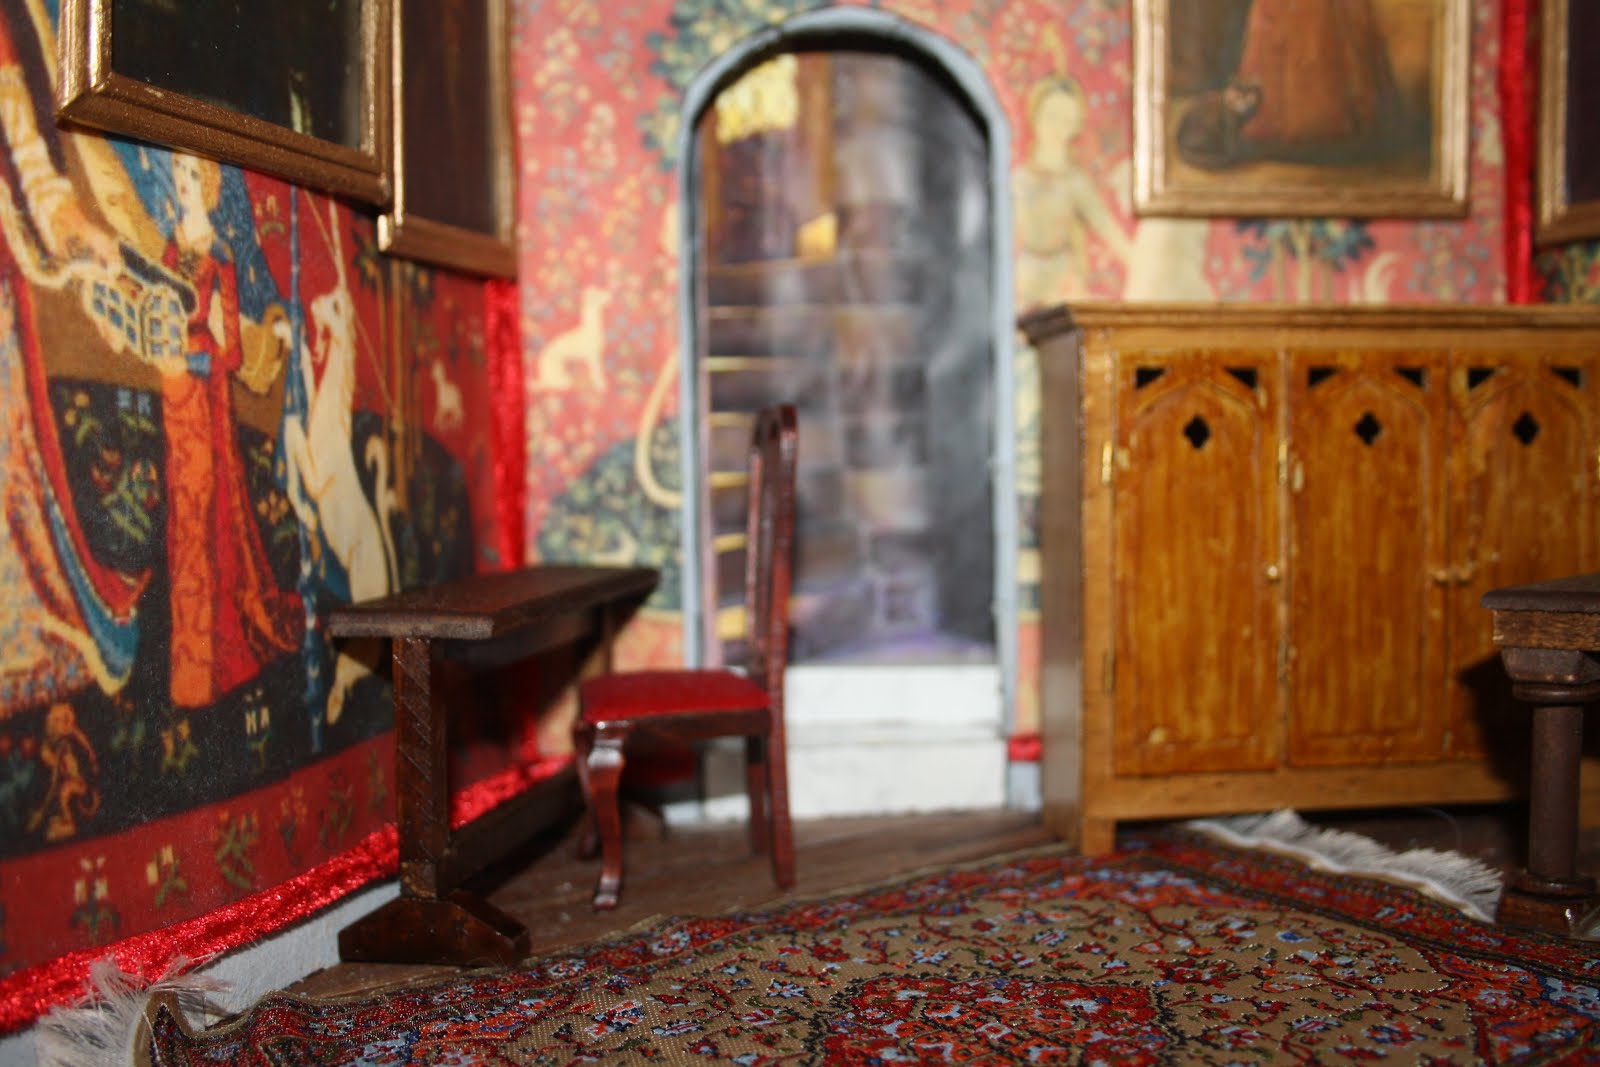
Here it is in it's spot in the common room.


I put together a short picture video of this project. Hope you like it!


Harry Potter dollhouse miniature long tables


Building these long tables for the Gryffindor common room was my easiest build yet! Should have started with this! For the feet, scrabble tile holders were used. It pays to save any kind of wood for future crafts.


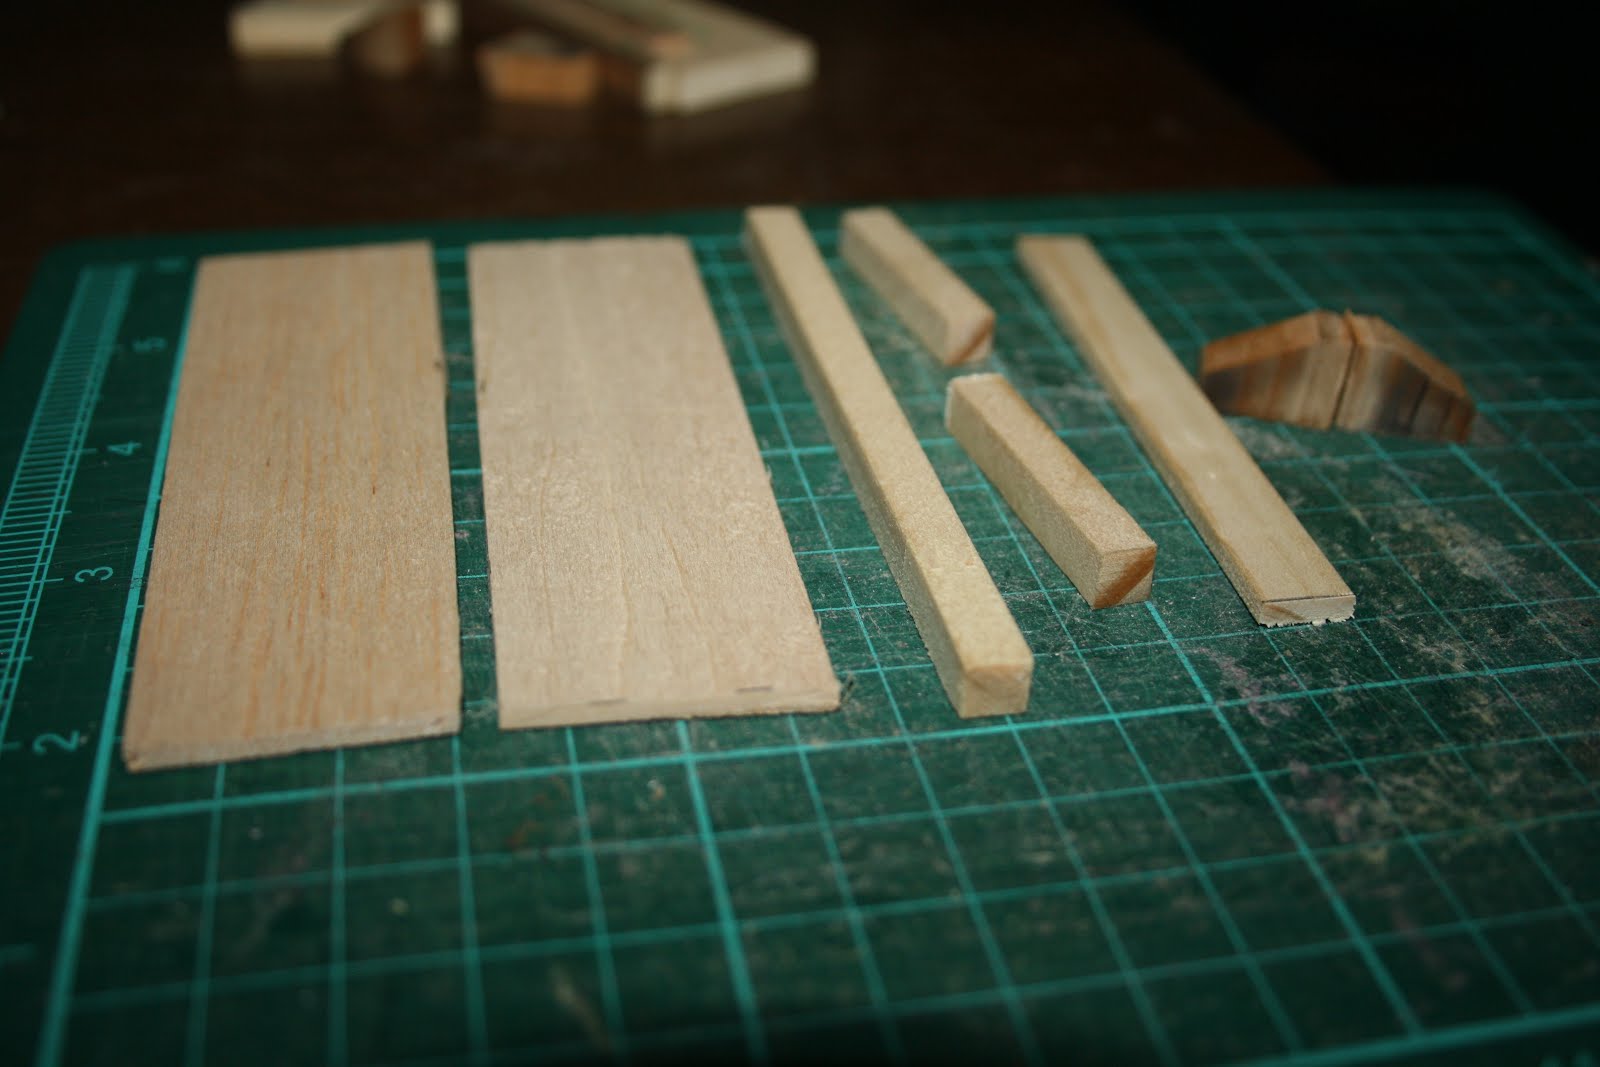
Here is the rest of the wood needed to make this long table. Note, posts and foot rest are from a rectangular dowel, and the under framing is rectangular.


Wish I had waited to stain after glueing it together. In order for it to glue properly, I had to sand the ends to remove the stain. Just goes to show, we can be forgetful and mix up the steps.


Glue in the under frame


Finished table!


Here it is in the room!


Here is a quick picture video showing the steps. Hope you enjoy!


Saturday, May 30, 2020

Dollhouse miniature Gryffindor Common room dresser project Harry Potter

This dresser was daunting as it is featured in almost all the movies. Plus, it isn't something you can just buy. Add in all the decisions to be made. The furniture should look authentic, so using stain and varnish is better, in my opinion, than paint. This however, means it takes longer to allow it to dry between coats. Usually, multiple pieces are made before I get the final piece that will go in my miniature setting.
First, start with a cardstock template using my silhouette cameo.


Then, my wood stash is raided, and those pieces of wood are used to modify the pattern, depending on it's thickness. Starting with the back, this is the piece that will be used to glue all the rest of the pieces on, and is the exact size of the dresser.


The sides of the dresser are cut. My stash had an old balsa wood airplane kit, and this wood is so easy to cut with a box cutter! This piece will be the bottom of the dresser, where no one will see the printed part.


Glueing sides, drawer, and bottom on the base


Cutting the front in balsa wood. Originally, the idea was to have the doors on hinges and for the doors to open. At the end, the decision was made to glue the doors down. So I didn't really have to make these holes!


Glueing this to the front.


Glueing the top on


With the doors, cereal box card is used and cut with the silhouette. All the layers are glued.


Final door fit.


The first prototype is painted with acrylic paint.


Glueing hinges. With my silhouette, little recesses are cut out to reduce the bulk and have the hinge fit inside the door.


The second dresser I make, stain is used. The varnish was satin finish. Then I go in my marker bin and find the perfect marker to match the stain.  The problem is this - I did 2 layers of the marker and it got too dark, hense it doesn't match properly. Sigh.


The door handles are plain, and easy, since I have just the thing from a dollar store dresser. I soaked them with a little alcohol to loosen the glue, and gently pry them out of their holes. lightly stained and shortened, they are then glued on the doors.


Placing it in it's home in the common room is very satisfying!


Can't wait to make the armadillo to put on the top of the dresser!

Please enjoy this picture video I made!