Building these long tables for the Gryffindor common room was my easiest build yet! Should have started with this! For the feet, scrabble tile holders were used. It pays to save any kind of wood for future crafts.
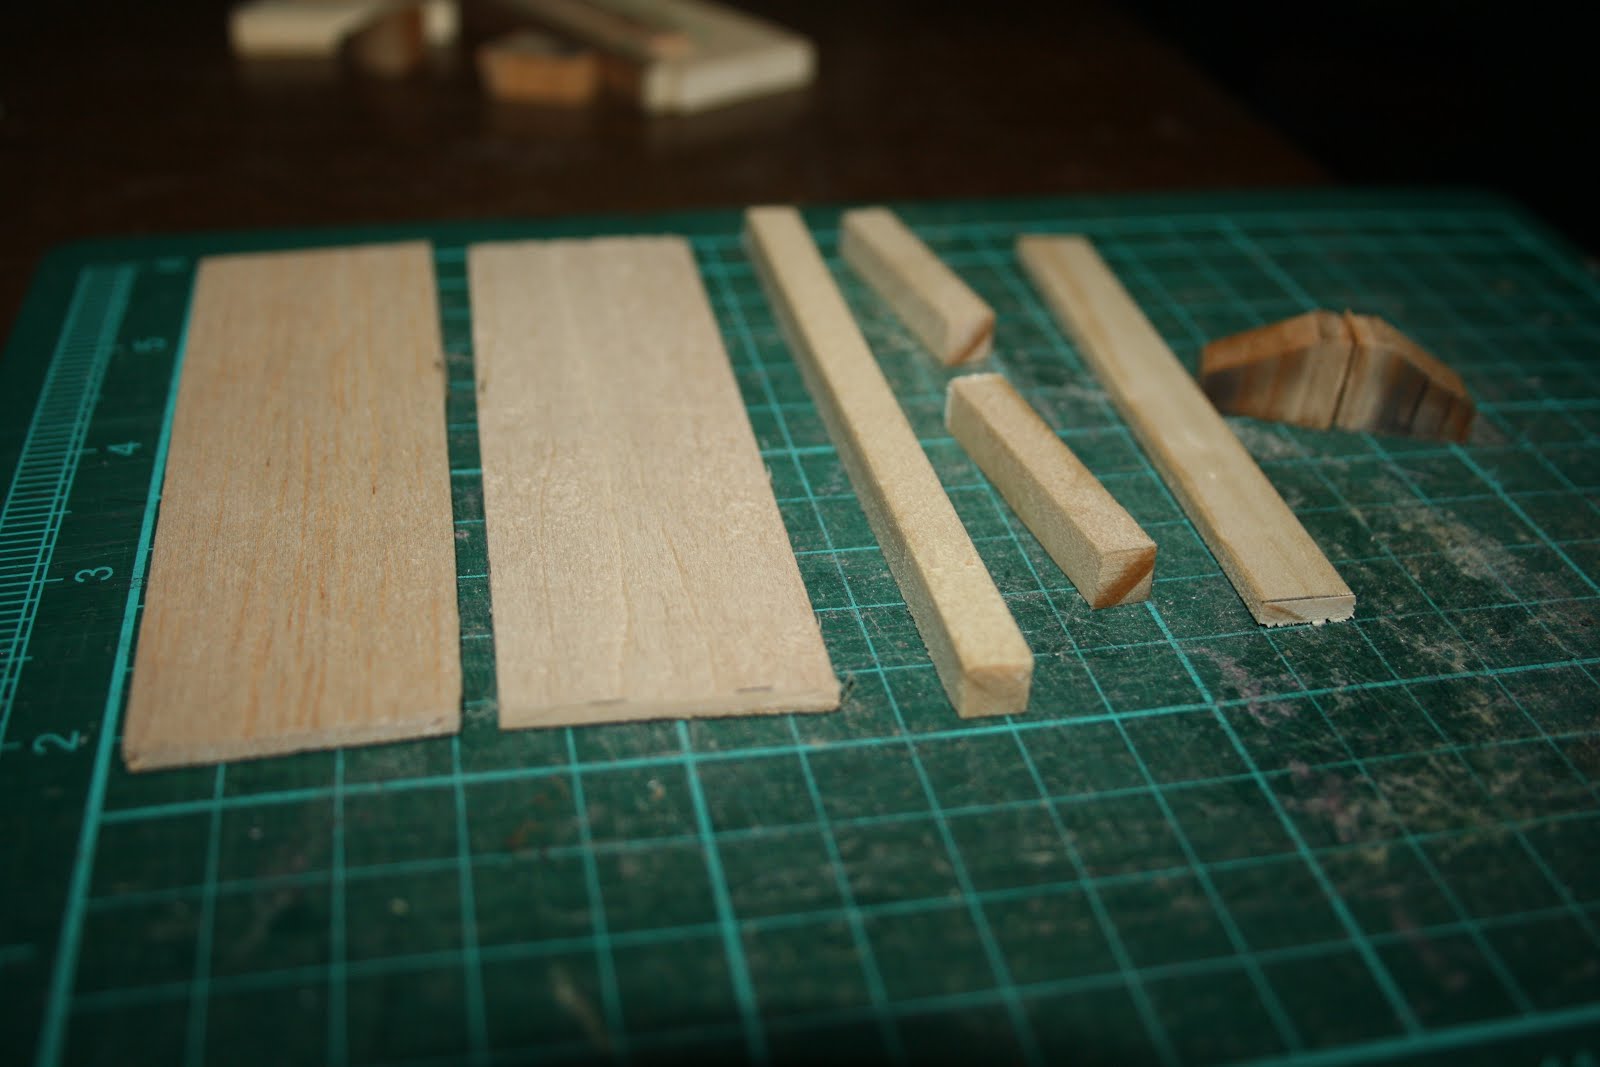
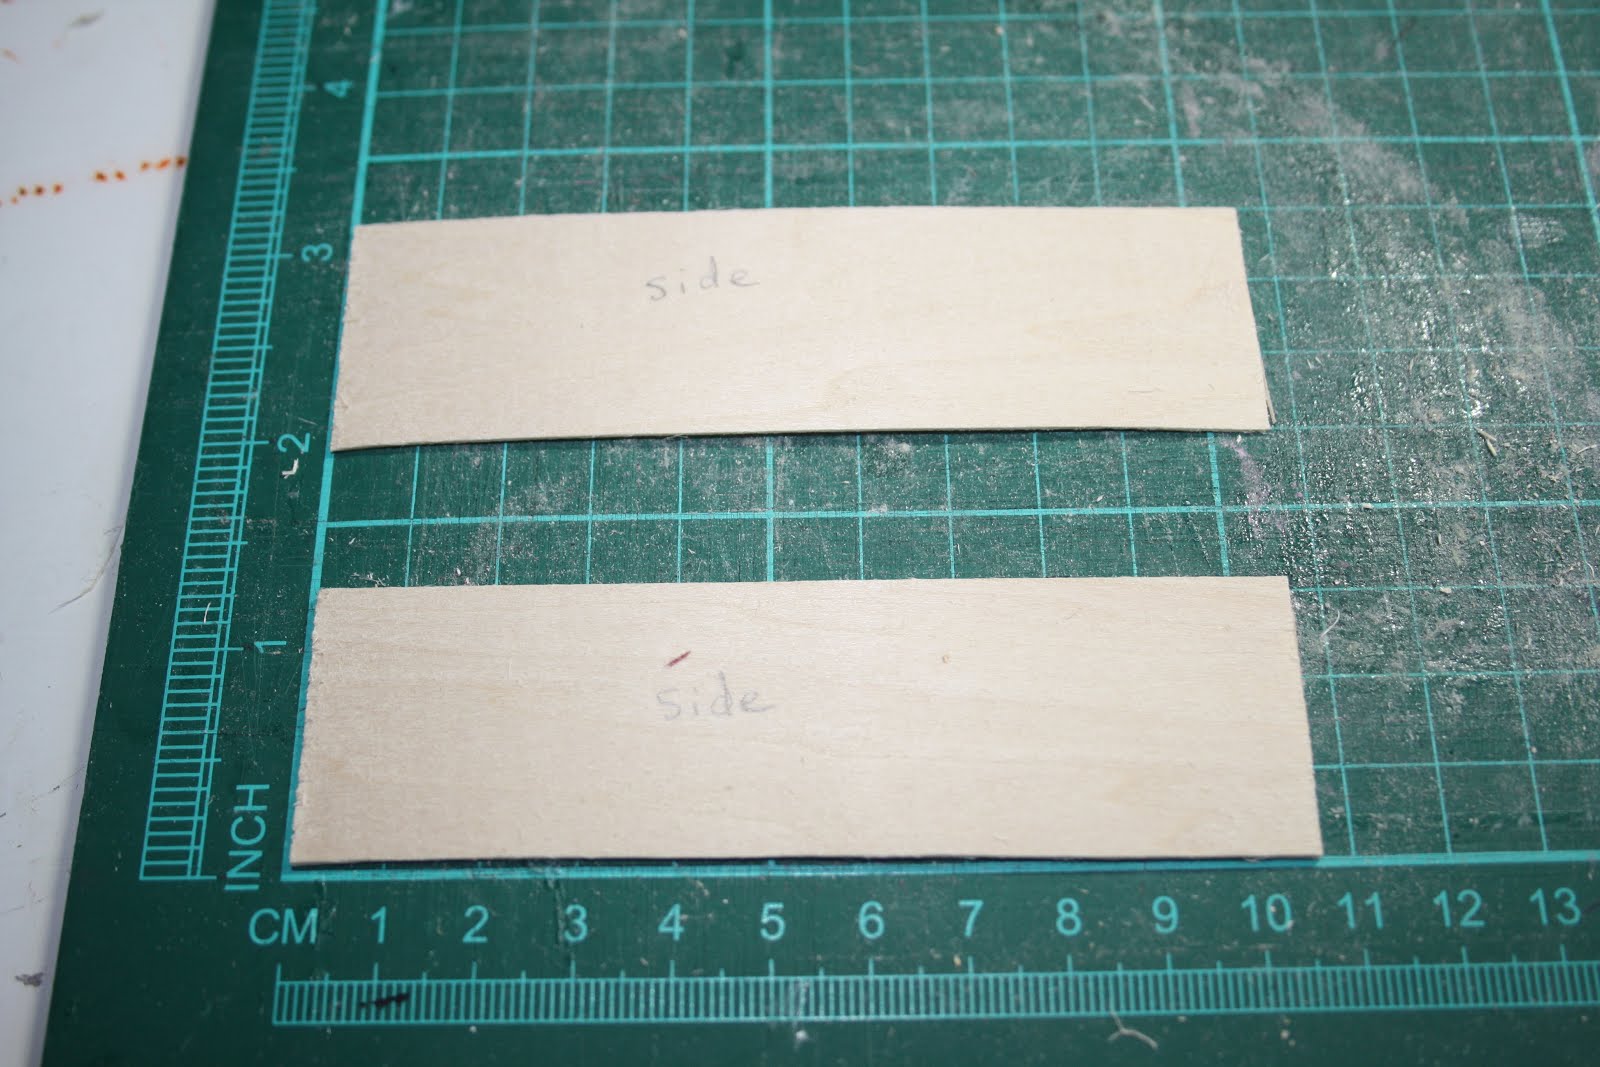
Here is the rest of the wood needed to make this long table. Note, posts and foot rest are from a rectangular dowel, and the under framing is rectangular.
Wish I had waited to stain after glueing it together. In order for it to glue properly, I had to sand the ends to remove the stain. Just goes to show, we can be forgetful and mix up the steps.
Glue in the under frame
Finished table!
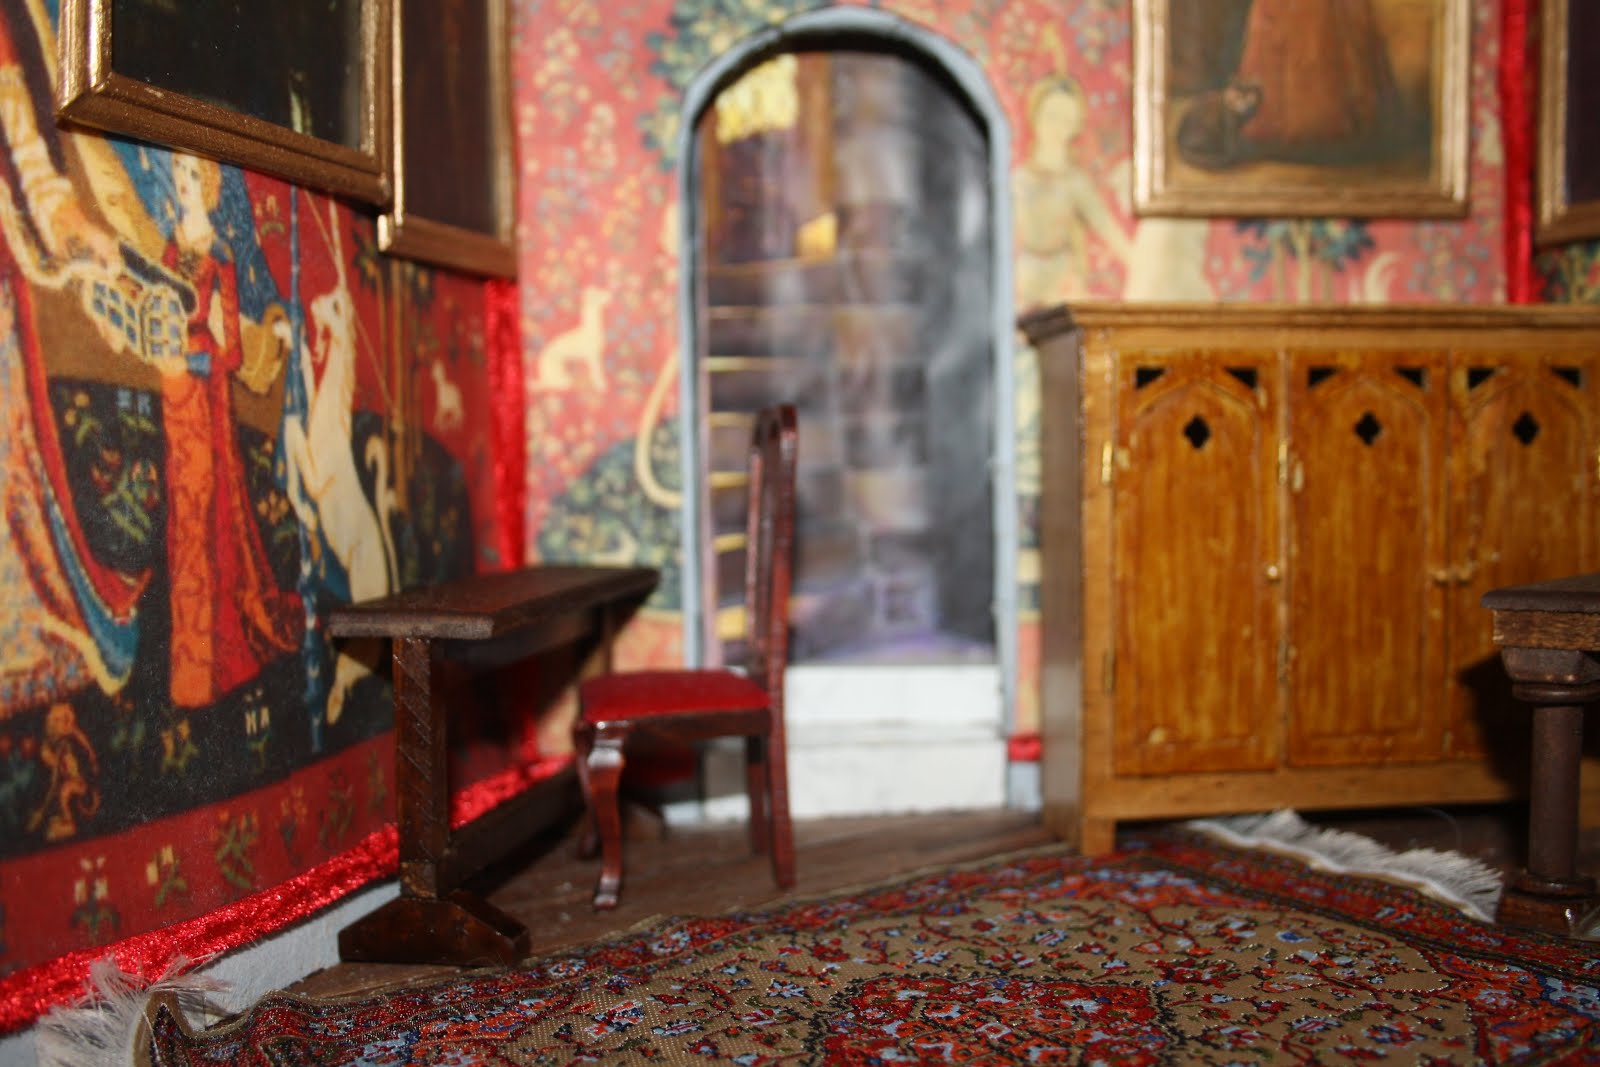
Here it is in the room!
Here is a quick picture video showing the steps. Hope you enjoy!
This dresser was daunting as it is featured in almost all the movies. Plus, it isn't something you can just buy. Add in all the decisions to be made. The furniture should look authentic, so using stain and varnish is better, in my opinion, than paint. This however, means it takes longer to allow it to dry between coats. Usually, multiple pieces are made before I get the final piece that will go in my miniature setting.
First, start with a cardstock template using my silhouette cameo.
Then, my wood stash is raided, and those pieces of wood are used to modify the pattern, depending on it's thickness. Starting with the back, this is the piece that will be used to glue all the rest of the pieces on, and is the exact size of the dresser.
The sides of the dresser are cut. My stash had an old balsa wood airplane kit, and this wood is so easy to cut with a box cutter! This piece will be the bottom of the dresser, where no one will see the printed part.
Glueing sides, drawer, and bottom on the base
Cutting the front in balsa wood. Originally, the idea was to have the doors on hinges and for the doors to open. At the end, the decision was made to glue the doors down. So I didn't really have to make these holes!
Glueing this to the front.
Glueing the top on
With the doors, cereal box card is used and cut with the silhouette. All the layers are glued.
Final door fit.
The first prototype is painted with acrylic paint.
Glueing hinges. With my silhouette, little recesses are cut out to reduce the bulk and have the hinge fit inside the door.
The second dresser I make, stain is used. The varnish was satin finish. Then I go in my marker bin and find the perfect marker to match the stain. The problem is this - I did 2 layers of the marker and it got too dark, hense it doesn't match properly. Sigh.
The door handles are plain, and easy, since I have just the thing from a dollar store dresser. I soaked them with a little alcohol to loosen the glue, and gently pry them out of their holes. lightly stained and shortened, they are then glued on the doors.
Placing it in it's home in the common room is very satisfying!
Can't wait to make the armadillo to put on the top of the dresser!
Making this iconic couch was challenging. The material was a little too thick, but as the colour was right, I worked with it.
My first step was to go to my silhouette cameo and make a cardstock pattern of the couch. Can I just say, making miniatures to scale is difficult. You make it, and think it's right, and then you put it in it's intended place, and something is off. Back to the drawing board!
Using foam board is an inexpensive material that stays flat, and since this furniture will have it's bones covered, why not use it? I am also using a clean pizza box as well.
Covering wooden dowel with a thin piece of batting to make the arm rest.
Using fabric glue tape to attach fabric to the couch. In order to make the couch without any fabric edges showing involves folding and glueing strategically.
The seat cushion and back were layered with foam packing sheets and batting from an old oven mitt.
Sewing the seat cushion for the couch
To make the back cushion, I used foam board as a base, and layered batting, trying different amounts so it would look right after it is covered in fabric.
To make the skirt, I cut out cardstock templates and glued fabric to it.
The back of the couch is a piece of pizza box card covered in fabric, and then glued.