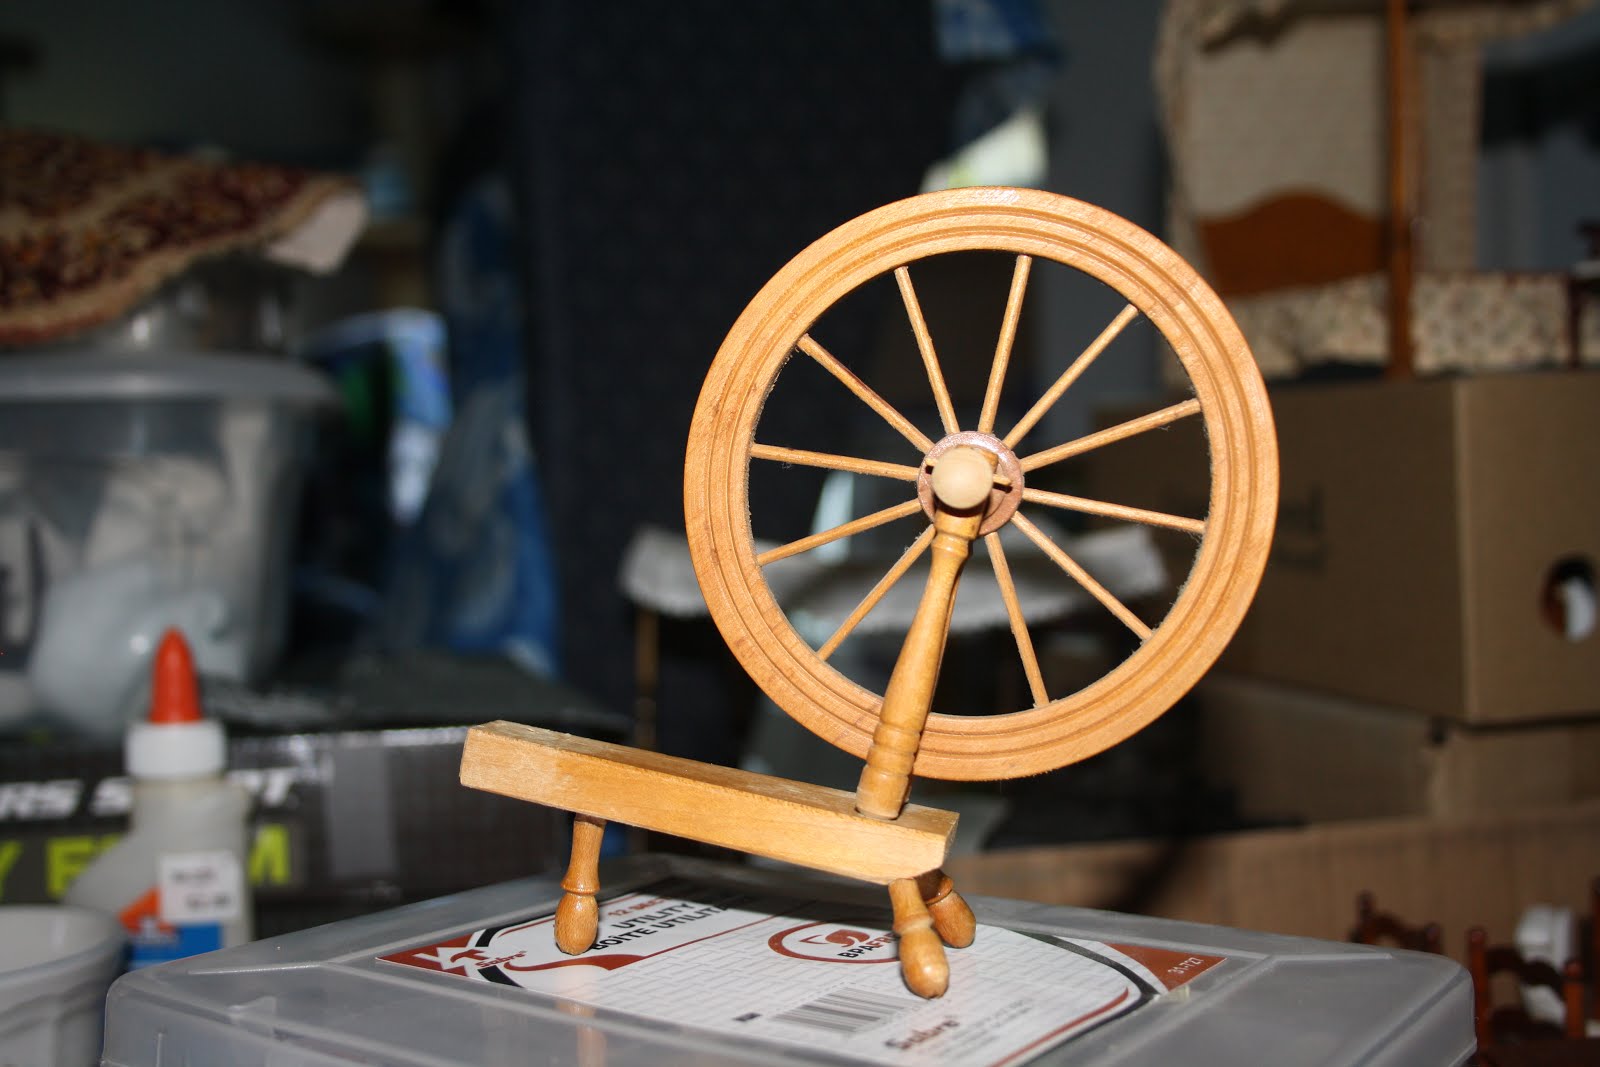
Finally, after years of thinking about it, I am starting to make the tower. The base is a piece of plywood, cut to 23 inches by 23 inches.

Using black foam board, the next layer is the base support. Using this nifty knife (double blades), a circle was cut in the foam board to hold the tower up. The inside of the circle is 21 inches across.


using two more sheets of black foam board, one side was cut every 2 inches, (not all the way through!) Then it was bent backwards until it sort of snapped, but the paper on the other side holds it together.

Now the board can be shimmied and glued into place.


It certainly looks tall, and that is without the cone roof yet! Unfortunately the furniture has already been made in 1:12 scale. This makes my tower quite large!
Now the decision to be made is do I start with the inside or outside? My plans for the outside is to use foam pieces to make the stone. If it was flat surface, instead of curved, I would just use sheets of foam board, and just score the stones, however, no project is that easy!
The inside is tricky as well. The common room in the movie is not circular, so if I add flat walls and curves, it takes up space. So my common room will be a bit smaller than I'd like. Here's what it should look like:

We'll just have to use our imagination, and disregard that the common room is not part of the tower. It is a magical place anyway, and I can see the castle changing each year to accomodate the students.
The height of the common room I've estimated as 20 feet.
The boy's dorm room will work great in the tower. The dorm room also has a high ceiling. But I don't have to make a decision on it yet.

Working on the outside "stone": Using inexpensive foam board, marking off the size of the stones, and cutting part way thru in a v notch. The stone of course, will be staggered as normal construction, no Minecraft here! Each stone on the end that is a half stone is removed, so it can be interlocked with the next sheet of foam board.


Looking like stone already!


Here the three sheets can be fitted together.


Texturing the stones with aluminum foil pressed into it really randomizes the imperfections.


painting the "mortar" a light grey.


The paints that were chosen were variations of grey, and each stone is painted randomly. Also, in order to add more interest and texture, sand was mixed in the paint, with varying amounts of sand.


Walls of the tower are scored black foam board.


My hope was to glue each sheet on to the black walls, however, it wouldn't form to the concave walls. So, each row is cut and glued individually.


Thankfully, there is only one window in the common room, because windows are not easy!


Here is the little attention freak photo bombing as I am trying to take pictures of my project.
By the way, she rubbed against some grey paint onto the side of her face - thank goodness the paint is non-toxic!


Using my silhouette cameo for planning purposes, a floor plan is drawn out and placed on the base.
Forever frugal, the fireplace hearth floor is actually laminate samples from Home Depot.


Laying down the hardwood floor. This floor is previously used, which is perfect for the common room floor. Hogwarts is supposed to be Gothic/Medieval period, and then when our story begins, it is the 1990's. So a little wear and tear is warranted.


Working on the window was the most challenging thing so far in this project. This is the inside which is lined with egg carton stones.


Using the silhouette cameo, a window was planned with many layers on each side of the window. The window is 2 pieces of acetate from packaging with embroidery floss glued in a diamond pattern.
My painting of the cardstock should have been done before assembly, as some got on the window.


Dry fitting the window in the hole.

Glueing it in permanently, adding more layers ( to avoid nasty drafts) and a window stone. This styrofoam (light blue) is a builders foam for the outside of basements, and comes in 8 foot long sheets! Thankfully, I was given some during a class at a miniaturists convention. It sands smoothly, and glued well with weldbond. It was painted with acrylic paint mixed with sand for texture.


The outside turned out better than imagined.

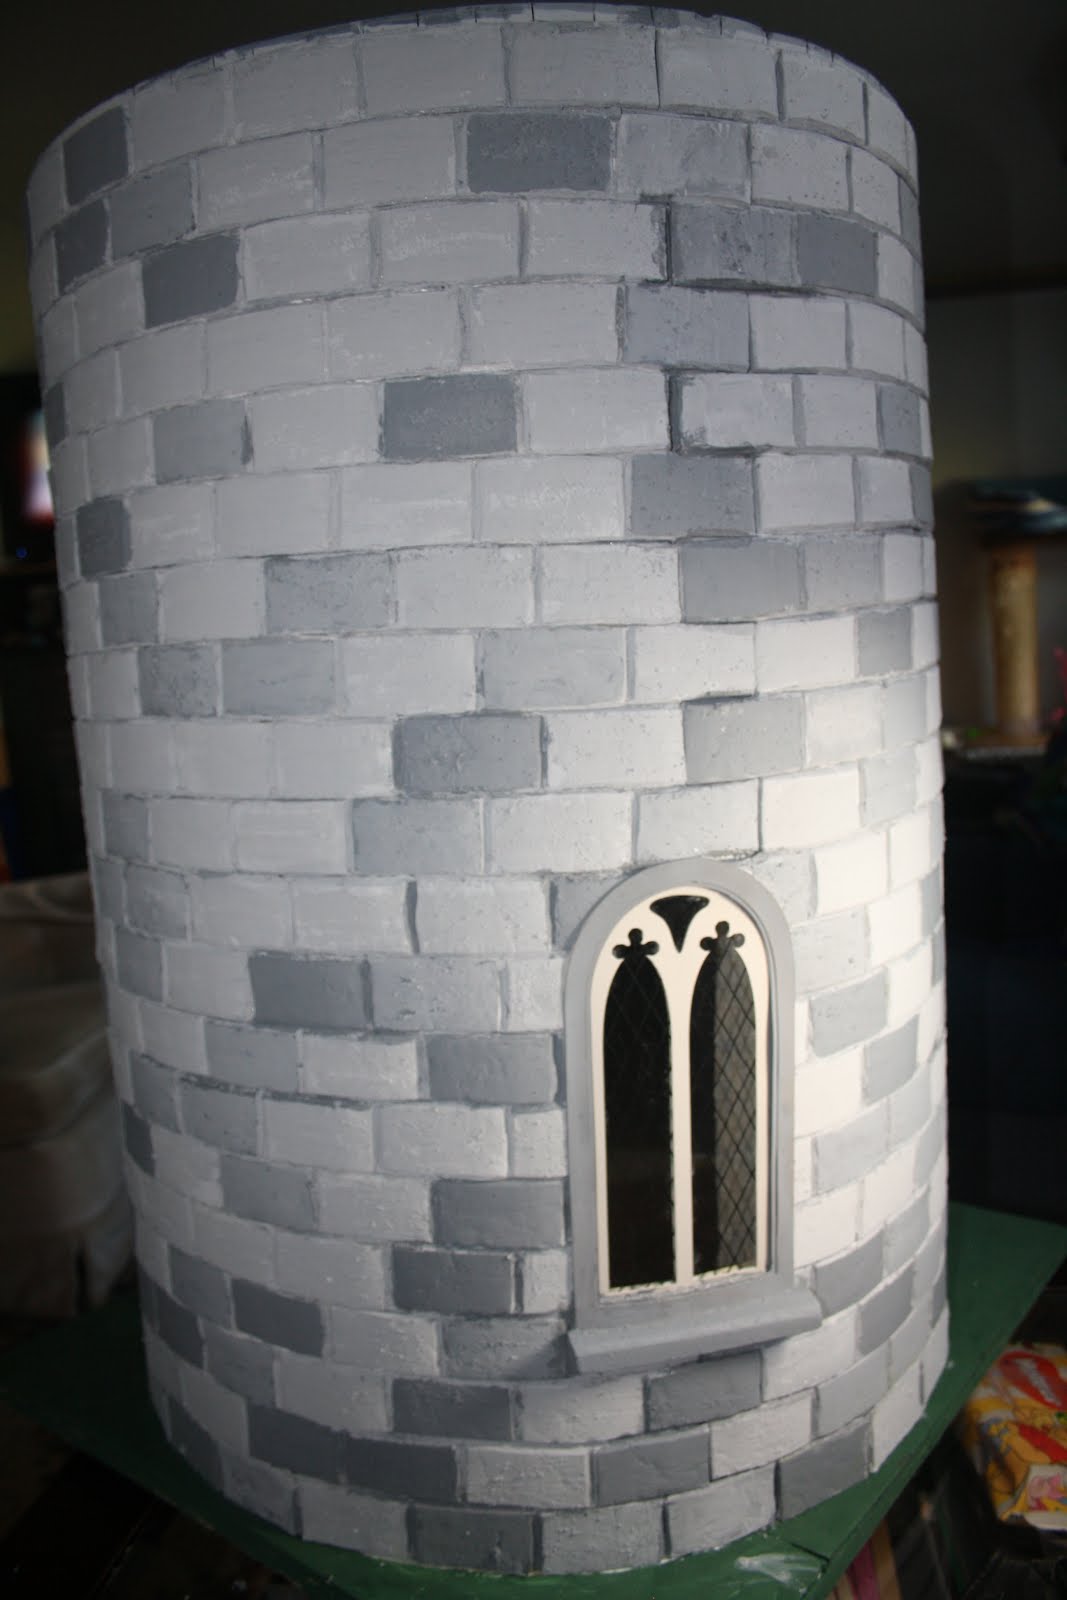
The inside looks good as well.

Making the window's stone on the inside of the tower.
Using foam board as the base, the glue I used was styroglue and ultimate glue (which expands, so use sparingly) Then egg carton stone is glued and painted.


The arched top was made with folded egg carton for a seamless look, and each stone had to be hand fitted and cut. It is an interesting challenge to make it look natural, and kind of funny because you'd have to stick your head inside the tower to see it! It's still satisfying to do all this detail even if no one ever sees it. Fitting the window casing into place.


Working next on the wall that has the doorway to the stairs to the dorm rooms. Here, I can reuse my experience with the arch to assemble the doorway. As a start, using a paper template helps to position and plan.


The foam board is layered by the doorway to make it thicker. Then egg carton is folded over to make it look like stone. Painting the foam board where there will be stone will look better than leaving it black, where cracks will show.


As we don't have the room to make an actual staircase, a photo was sized from a movie still. The first two steps are real, and made from laminate samples from Home Depot and foam board, glued with weldbond. I later sand off most of the acrylic paint and am happy with the worn look.

Stay tuned for more!